Setup Alerts Notifications Channel
Setting a Notification Channel
As a first step before creating a new alert, you should set up a notification channel where you want to send your alert. There are multiple notification channels available to send your alerts. Here's how you can set the notification channel:
Step 1: Open the Alert Channel Settings
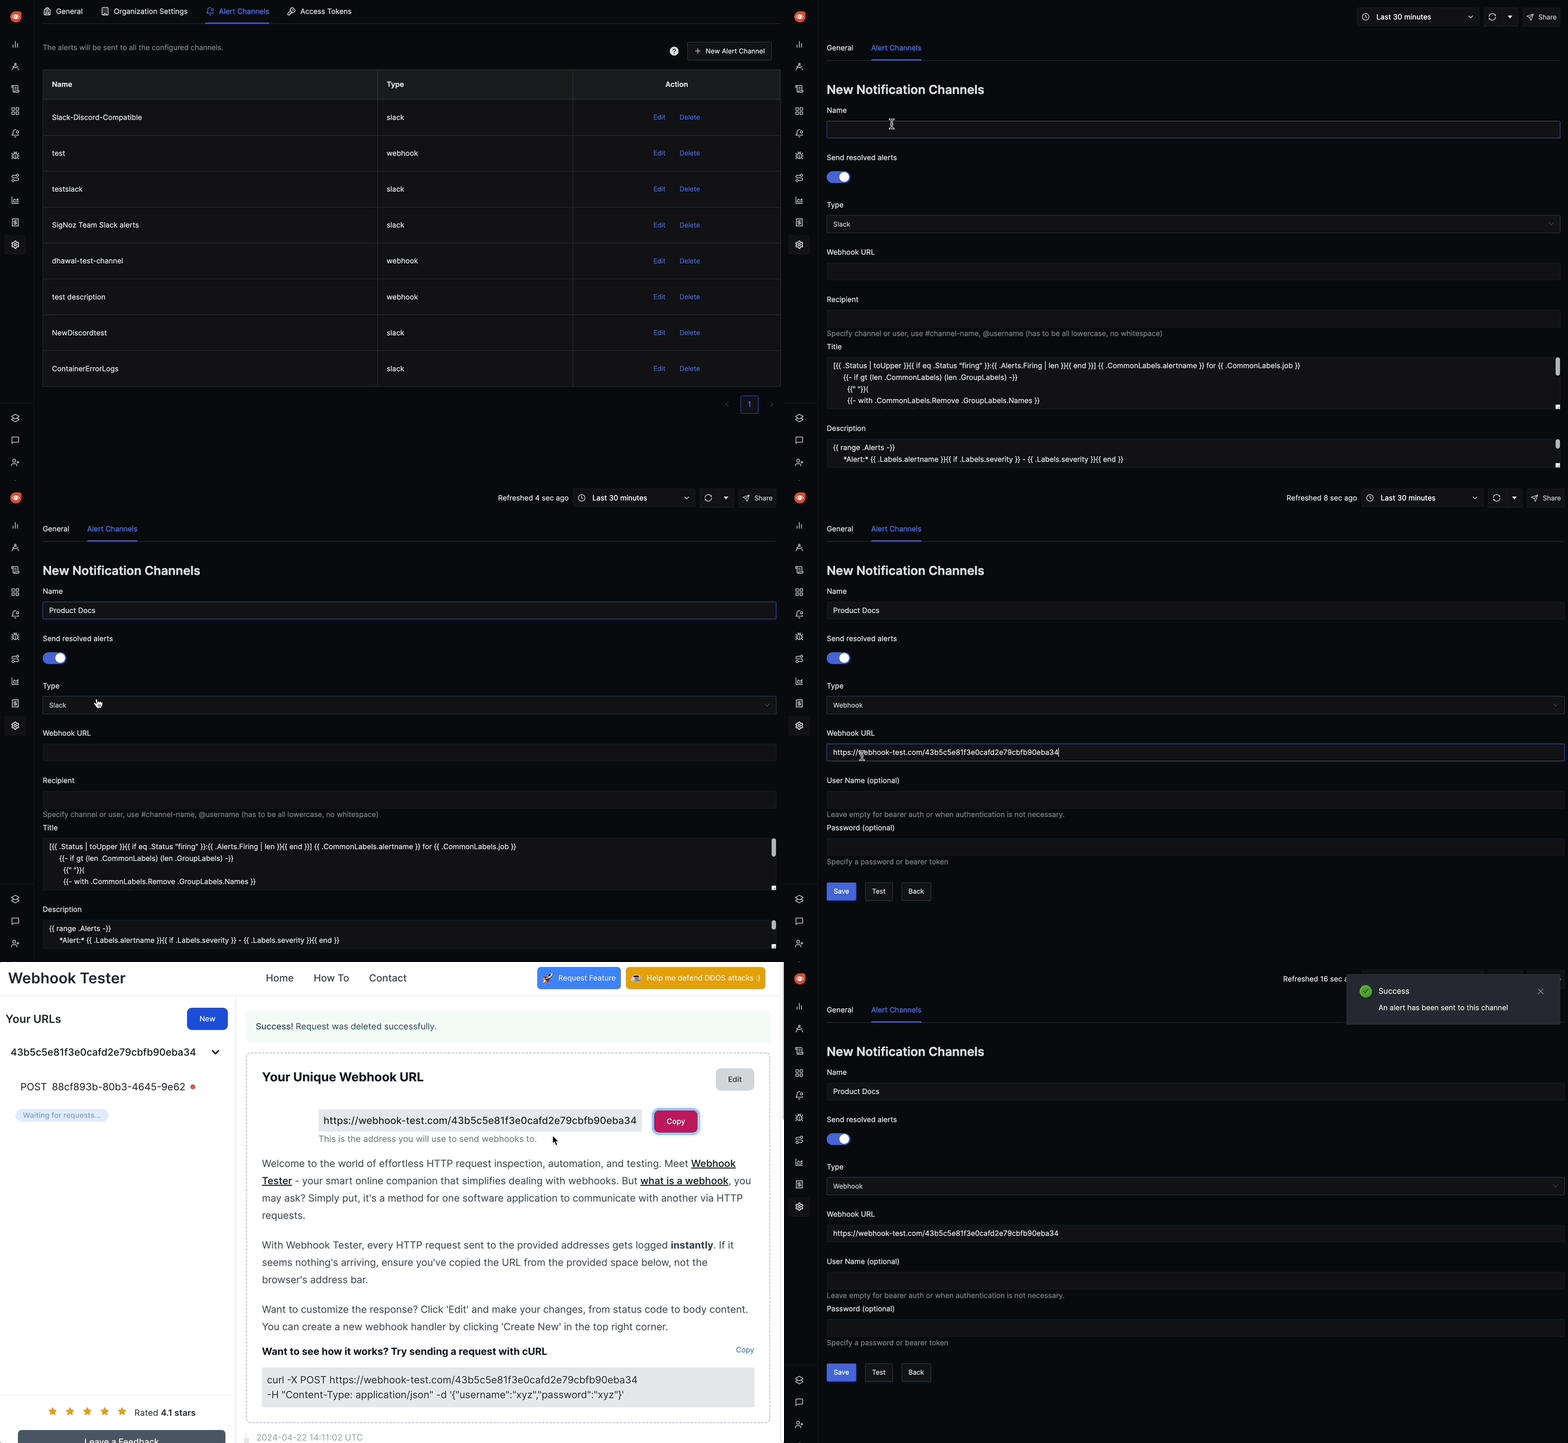
To configure the appropriate notification channel, navigate to the Alert Channel settings (Settings -> Alert Channel Tab). This section contains a list of available channels that you have created.
Step 2: Create a New Alert Channel
Click on the + New Alert Channel button at the top right corner and fill in the details
Name
Assign a descriptive name to the notification channel in the "Name" field. This helps identify the channel when selecting it for alerts.
Send Resolved Alerts
The "Send Resolved Alerts" toggle lets you decide whether to send notifications when alerts are resolved. By default it is enabled.
Type
The "Type" dropdown menu lets you choose the type of notification channel. The following types are available:
- Slack: Sends alert notifications to Slack. You can select a specific Slack channel for alert notifications.
- Webhook: Sends alert notifications to a custom webhook endpoint for integration with third-party systems or custom applications.
- PagerDuty: Sends alert notifications to PagerDuty for advanced incident management.
- Opsgenie: Sends alert notifications to Opsgenie, an incident management platform.
- Email: Sends alert notifications via email. You can specify one or more email addresses to receive alerts.
- Microsoft Teams: (Supported in paid plans only) Sends alert notifications to Microsoft Teams, a collaboration platform.
Step 3: Test and Save
- Test: The "Test" button sends a test notification to verify that the channel is set up correctly and is functioning as expected.
- Save: This button saves the new notification channel.
Once the Notification Channel is saved, you should be able to select it when creating an Alert.

